The Ultimate Guide to HVAC UV Light Replacement

Most people think of an HVAC UV light as something that only purifies the air, but its benefits go much further. By preventing mold and biofilm from building up on your system’s indoor coil, it helps your air conditioner run more efficiently. A clean coil allows for better heat transfer, which means your AC doesn’t have to work as hard to cool your home, potentially saving you money on your energy bills. This makes a routine HVAC UV light replacement more than just a maintenance task; it’s an investment in your system’s longevity and performance. We’ll explore how this simple component protects your equipment and your wallet.
Key Takeaways
- Don't Trust a Glowing Bulb: A UV light's ability to neutralize germs diminishes after about a year of use, even if it still looks like it's working. Make annual replacement part of your routine AC maintenance to keep your air clean and your system efficient.
- Get the Right Bulb by Checking the Specs: To avoid damaging your system or buying an ineffective bulb, match the replacement to your old one. Check the model number, voltage (usually 24V or 120V), and connector type before you buy.
- Prioritize Safety Above All Else: If you choose to replace the bulb yourself, always shut off power to the HVAC unit first and never look directly at the light. For first-time installations or if you feel uncertain, hiring a professional is the safest and most reliable option.
What Do HVAC UV Lights Do?
Think of an HVAC UV light as a silent guardian for your home's air. Installed inside your air handler, these special lamps use ultraviolet (UV-C) light to neutralize airborne contaminants before they can circulate through your home. It’s a technology that goes beyond standard air filters, targeting microscopic organisms that filters often miss. The primary goal is to improve your home's indoor air quality, but these lights also play a key role in keeping your HVAC system itself clean and running efficiently. By preventing the growth of mold and bacteria on internal components like the indoor coil, they help maintain your system's performance and longevity. It’s a simple addition that can make a big difference in the health of your home and your AC unit, especially here in humid Florida.
How UV Lights Work in Your System
So, how does a light bulb clean your air? HVAC UV lights emit a specific wavelength of ultraviolet light, known as UV-C, which is a powerful germicide. As air passes through your HVAC system, it flows past the UV lamp. This intense light scrambles the DNA of microorganisms like mold spores, bacteria, and viruses, destroying their ability to reproduce and cause harm. For this process to be effective, the light needs to be on continuously. Over time, the bulb's intensity fades, even if it still looks like it's working. That’s why replacing it annually is so important to ensure it’s still powerful enough to keep your air clean.
Benefits for Your Air Quality and Energy Bill
The most obvious benefit of a working UV light is healthier air for you and your family. By neutralizing germs and preventing mold growth within your system, you can reduce allergens, odors, and the circulation of illness-causing contaminants. But the advantages don't stop there. When mold and biofilm build up on your system's indoor coil, they act like an insulator, forcing your AC to work harder to cool your home. A UV light keeps the coil clean, allowing for better heat transfer and improved efficiency. This not only reduces strain on your equipment but can also lead to lower energy bills. Regular air conditioning maintenance, including timely UV bulb replacement, ensures you get both of these great benefits.
When to Replace Your HVAC UV Light
Knowing when to replace your HVAC UV light is key to keeping your home’s air fresh and your system running smoothly. While the bulb might still be glowing, its ability to neutralize germs and mold diminishes over time. Waiting too long for a replacement means you aren't getting the air quality benefits you paid for. Fortunately, there are a few clear signs and a simple rule of thumb to help you know exactly when it’s time for a new bulb.
Visual Signs Your Bulb Is Failing
The most obvious sign of a failed UV bulb is that it’s no longer lit. Many HVAC systems have a small viewport or indicator light that lets you check on the bulb without opening the unit. If you look and see darkness, it’s definitely time for a replacement. However, a bulb can be failing even if it still has a faint glow. Watch for any flickering or a light that seems much dimmer than it used to be. These are visual cues that the bulb is at the end of its life and its germ-killing power has faded.
Performance Issues That Signal a Bad Bulb
Sometimes, the first sign that your UV light isn't working is a change in your home's air. If you start noticing musty or stale odors coming from your vents, it could mean mold and bacteria are growing on your AC coils again. A properly functioning UV light helps neutralize these contaminants before they can circulate. Another signal is a return of allergy symptoms or respiratory irritation. If your family starts sneezing and coughing more often, a worn-out bulb could be the culprit. This happens because the light is no longer effective at destroying the airborne particles that can impact your indoor air quality.
The Standard 12- to 24-Month Replacement Rule
As a general rule, you should plan to replace your HVAC UV light bulb every 12 to 24 months. Most manufacturers recommend an annual replacement because the bulb’s germicidal effectiveness drops significantly after about 9,000 hours of use. Even if the bulb still lights up after a year, it likely isn't producing the specific UV-C wavelength needed to kill mold and bacteria. To stay on top of it, we recommend making the bulb replacement a part of your annual air conditioning maintenance schedule. This proactive approach ensures your system is always protecting your home’s air, rather than waiting for odors or allergy symptoms to return.
What Kind of UV Light Does Your HVAC System Need?
Finding the right replacement bulb for your HVAC UV light system isn't as simple as grabbing one off the shelf. Using the wrong type can be ineffective at best and damaging to your system at worst. To make sure you get the right one, you’ll need to match three key things: the type of UV light, the voltage, and the physical shape of the bulb and its connector. Think of it like buying a part for your car; you need the exact match for it to work correctly. The easiest way to start is by checking the old bulb or your HVAC system’s manual for the specifications.
UV-C vs. UV-A: What's the Difference?
You’ve probably heard of UV-A and UV-B rays from sunscreen commercials, but your HVAC system uses a different type: UV-C. This specific wavelength is what gives the light its germ-killing power. UV-C light works by scrambling the DNA of microorganisms like mold, bacteria, and viruses, preventing them from reproducing. This is why it’s so effective at improving your home’s indoor air quality. UV-A light, on the other hand, is the "blacklight" you see at parties and is not effective for disinfection. For your system to work, the UV-C bulb must be on continuously, which is why it’s crucial to choose the right type and replace it on schedule.
Check Your System's Voltage: 24V vs. 120V
Next up is voltage. Most residential HVAC UV light systems run on either 24 volts (24V) or 120 volts (120V). It’s essential to get this right because a 24V bulb won’t work in a 120V system, and vice versa. Using the wrong voltage can fry the bulb instantly or even damage the power supply, known as the ballast. You can find the voltage information printed on the base of your old bulb or on the ballast itself. Most UV bulbs are designed to last about 9,000 hours, or roughly one year of continuous use. Getting the voltage right ensures it will last its full lifespan and keep your system running smoothly as part of your regular air conditioning maintenance.
Find the Right Connector and Bulb Shape
Finally, you need to match the bulb’s physical design. HVAC UV bulbs come in various shapes and sizes, with different connectors at the base. Some are long, single tubes, while others might be U-shaped. The connector is the part that plugs into the power supply, and it needs to be an exact match for a secure electrical connection. The best way to avoid a mistake is to take a clear photo of your old bulb, paying close attention to the base where it connects. Remember, even if an old bulb still glows purple, its UV-C effectiveness fades over time. If you’re ever unsure you have the right part, our team can handle the replacement during an AC repair visit.
How to Choose the Right Replacement Bulb
Okay, you’ve figured out it’s time for a new UV bulb. Now comes the important part: choosing the right replacement. It might feel like finding a needle in a haystack, but it’s simpler than you think. Getting the correct bulb isn’t just about making sure it fits; it’s about ensuring it works effectively and safely with your HVAC system. An incompatible bulb can be ineffective at cleaning your air, or worse, it could damage your system’s electrical components.
Think of it like buying a part for your car. You wouldn’t just grab any oil filter off the shelf, right? You’d get the one specified for your make and model. The same logic applies here. Taking a few minutes to confirm the specs will save you a lot of headaches down the road. We’ll walk through exactly what to look for so you can buy your replacement bulb with confidence. If you ever feel unsure, remember that our team is always ready to help with your indoor air quality needs.
Check Your Model Number and System Specs
The most straightforward way to find the right replacement is to start with what you already have. Your current UV bulb should have a model number printed directly on its base. Jot that number down and your search is practically over. If the number has worn off or is unreadable, don't worry. Your next stop is the HVAC unit's manual or the manufacturer's specifications for the UV light system itself. It’s always best to check these specs before purchasing a replacement to ensure a proper fit and ballast compatibility. This simple step eliminates guesswork and ensures the new bulb will work seamlessly with your existing setup.
Match the Wattage and Ballast
Once you have the model number, it's smart to double-check a few key electrical details: the wattage, voltage, and ballast compatibility. The ballast is the part of your UV light system that regulates the electrical current to the bulb, so it's crucial that the new bulb is a perfect match. Most residential HVAC UV systems run on either 24V or 120V, and you’ll want to confirm which one your system uses. Also, check the connector type; a 4-pin connector is very common, but you should verify yours. Using a bulb with the wrong specs can cause it to burn out quickly or even damage your HVAC system. This is a key part of routine air conditioning maintenance.
Choose a Quality Brand
While it might be tempting to buy the cheapest bulb you can find online, this is one area where quality really matters. A well-made bulb from a reputable brand will not only last longer but will also be more effective at neutralizing airborne contaminants. Look for established brands like Field Controls or Fresh-Aire UV, which are known for their reliability. A quality bulb is an investment in your home’s air and your family’s health. At 5 Star Air, we only use high-quality, genuine parts for all our services because we believe in doing the job right. When you work with a trusted professional, you can be sure you’re getting a reliable product that’s built to last.
Where to Buy an HVAC UV Light Replacement
Once you know which bulb you need, the next step is figuring out where to buy it. You have a few options, and the right choice depends on your budget and how confident you are in picking the correct part. Making a smart purchase here ensures your system runs efficiently and your air stays clean. It's about finding a balance between price, quality, and the peace of mind that comes with getting the right component for your HVAC unit.
Authorized Dealers vs. Online Stores
When it's time to buy, you'll generally choose between an authorized dealer and a major online retailer. Authorized dealers, including your local HVAC service company, offer genuine parts designed specifically for your system. This route guarantees compatibility and reliability, which is crucial for performance. For example, some manufacturers stress the importance of matching the exact model to get the right replacement lamp size. Online stores, on the other hand, offer convenience and a wider selection. While you might find better prices, you'll need to be extra careful to ensure you're buying a quality, compatible product from a reputable seller.
How to Find Genuine Parts and Avoid Fakes
To make sure you're getting a genuine bulb, start by verifying the model number on your current lamp or checking your HVAC unit's manual. This simple step is your best defense against counterfeit products that won't perform correctly and could even damage your system. It's also important to confirm that the new bulb is compatible with your system's ballast for it to function properly. If you're shopping online, read reviews carefully and buy from trusted sellers. A little bit of research upfront can save you from the headache of dealing with a faulty or incompatible part down the road.
Compare Costs and Find the Best Price
Prices for HVAC UV light replacements can vary quite a bit, so it pays to do some comparison shopping. For instance, one brand's official replacement lamp might be listed for over $80, while you might find a 2-pack of compatible bulbs from another brand for less than half that price. While finding a good deal is great, don't let price be your only guide. Consider the bulb's expected lifespan, warranty, and customer reviews. Sometimes, paying a little more for a high-quality bulb from a trusted source is the most cost-effective choice in the long run.
How to Replace Your HVAC UV Light, Step-by-Step
Ready to swap out that old HVAC UV bulb? It’s a task you can definitely handle with the right preparation and a focus on safety. Following these steps will help you get the job done correctly, ensuring your system continues to improve your home’s air quality. We’ll walk through everything from shutting off the power to installing the new bulb, so you can feel confident from start to finish.
Safety First: Essential Tools and Precautions
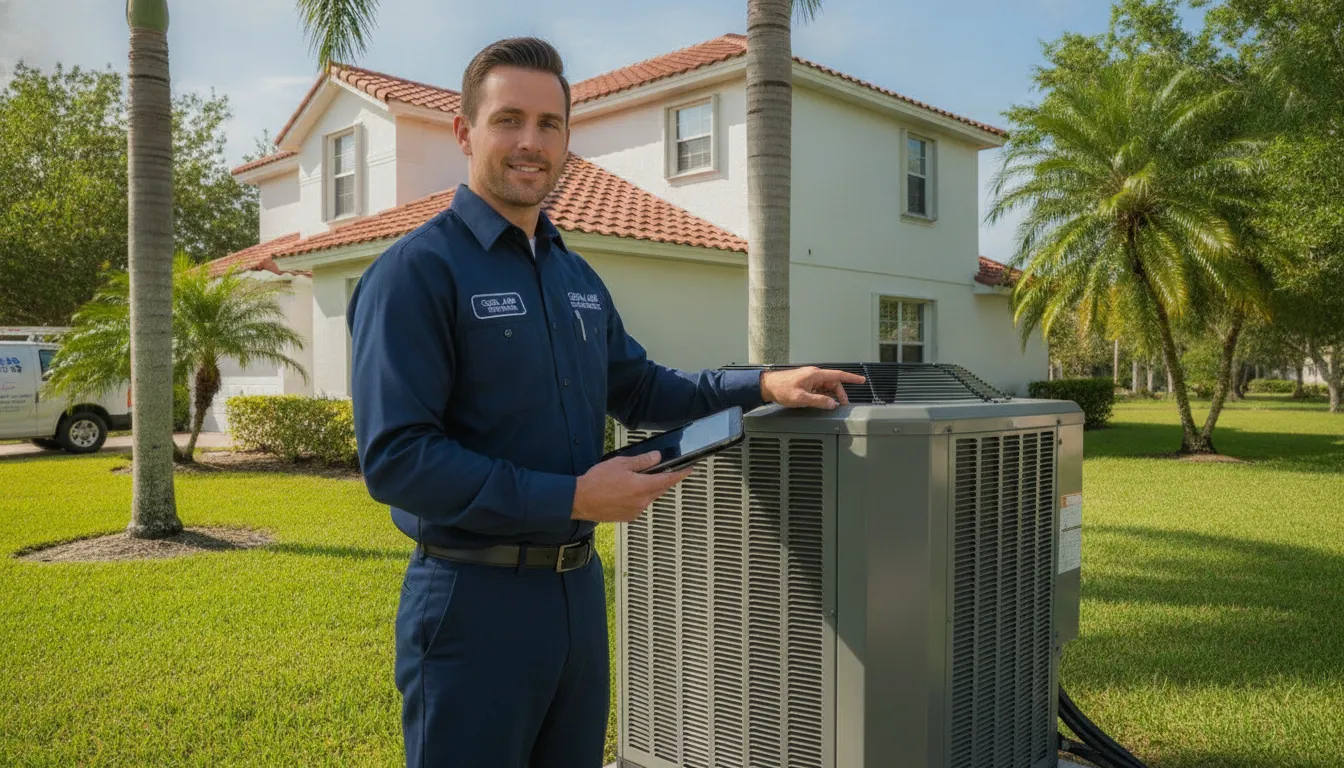
Before you touch anything, let's talk safety. The most important rule is to completely cut the power to your HVAC system at the circuit breaker. This prevents any risk of electric shock. Next, protect yourself. UV light can seriously damage your eyes, so never look directly at a bulb when it’s on. You’ll want to have safety goggles and a pair of clean gloves on hand. The gloves will protect your hands and also keep oils from your skin off the new bulb, which helps it last longer. If you feel at all unsure about this process, it's always best to schedule a professional air conditioning repair.
How to Safely Remove the Old Bulb
Once the power is off and you have your safety gear on, open the access panel on your indoor air handler to locate the UV light assembly. The old bulb is typically held in place by clips or a simple bracket. Gently unclip or unscrew the bulb from its housing and carefully disconnect it from the power source. Handle it with care to avoid breaking the glass. Remember, these bulbs lose their germ-killing effectiveness over time, even if they still light up. That’s why it’s recommended to replace them annually to keep your indoor air quality at its best.
How to Correctly Install the New Bulb
With the old bulb out, it’s time to install the new one. Wearing your gloves, take the new bulb and carefully insert it into the mounting bracket, making sure it’s secure. Reconnect the power plug, ensuring it clicks firmly into place. Give everything a quick once-over to confirm all connections are tight and the bulb is properly seated. Close the access panel, then head back to your circuit breaker to restore power to the HVAC unit. Your system’s manual should tell you how to verify it’s working, often through a small indicator light or viewport, so you don’t have to look at the bulb itself.
Should You DIY or Hire a Professional?
Deciding whether to replace your HVAC UV light yourself or call in a professional is a common question for homeowners. While many of us love the satisfaction of a good DIY project, some tasks are best left to the experts, especially when they involve your home’s complex HVAC system. The answer really depends on the specific job and your comfort level with electrical components. A simple bulb swap might seem easy enough, but a mistake could affect your system's performance or even pose a safety risk.
When you're weighing your options, think about the bigger picture. Your HVAC system is one of the most expensive and essential appliances in your home, particularly here in Florida. Getting a repair or installation right the first time saves you from future headaches and costly follow-up calls. For a straightforward bulb replacement, you might be able to handle it on your own. However, if you're looking at a first-time installation or aren't completely confident, calling a professional is the safest and most effective route. A trained technician can ensure everything is installed correctly and works seamlessly with your existing setup, giving you total peace of mind. Let’s break down when each option makes the most sense.
When a DIY Replacement Makes Sense
If you’re simply swapping out an old UV bulb for a new one, a DIY approach can be manageable. The main sign it's time for a change is the calendar. Most UV bulbs need to be replaced every year, even if they still appear to be working. A bulb might still glow purple, but after 12 months, its germ-killing UV wavelength has likely lost its power. If you’ve noticed a decline in your home’s air quality or an increase in musty smells, that’s another clear signal your bulb is past its prime. As long as you follow the manufacturer's instructions carefully and take all safety precautions, a simple replacement is a task a handy homeowner can often tackle.
Why Call a Pro for Installation and Maintenance
When it comes to the initial installation of a UV light system or any troubleshooting, calling a professional is your best bet. UV-C light is powerful, and looking directly at an active bulb can cause serious and rapid eye damage. A licensed technician knows how to handle these components safely. They will also ensure the new light is correctly wired into your HVAC system, which is crucial for both safety and performance. Plus, a professional can incorporate a UV light check into your regular air conditioning maintenance plan. This ensures your system is always supporting your home’s indoor air quality and running at peak efficiency.
How to Maintain Your New UV Light
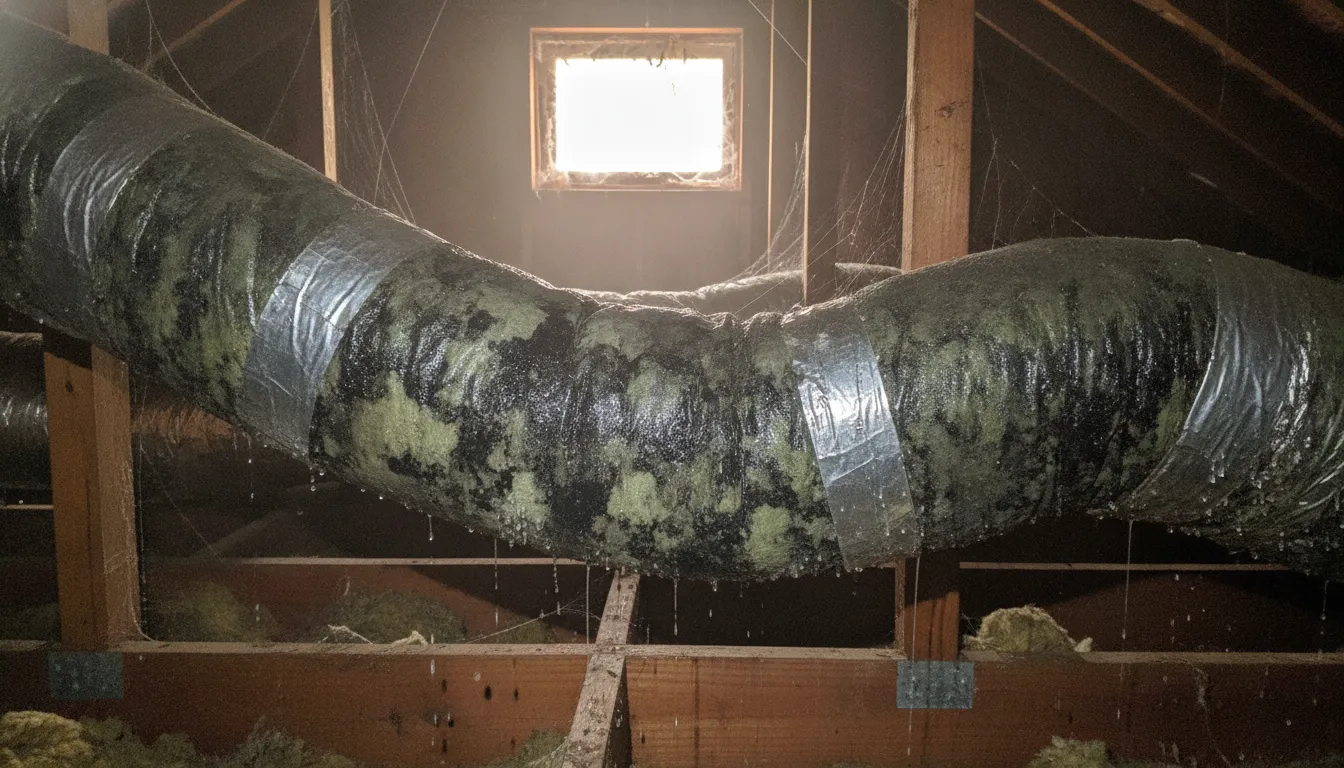
Installing a new UV light is a fantastic step toward cleaner air, but the work doesn’t stop there. Just like any other part of your HVAC system, your UV light needs a little attention to perform at its best. Consistent maintenance ensures the bulb remains effective at neutralizing mold, bacteria, and viruses, giving you the peace of mind you deserve. A well-maintained light not only protects your home’s air but also helps your entire system run more efficiently by keeping coils and drain pans clean, which can prevent clogs and improve airflow.
Think of it as simple upkeep that pays off in big ways. A dirty or aging bulb can’t do its job properly, which means those airborne contaminants could start circulating through your home again. By creating a simple maintenance routine, you can maximize the benefits of your investment and continue to enjoy excellent indoor air quality. These next steps are straightforward and are a key part of any good air conditioning maintenance plan. Neglecting this small component can have a ripple effect, potentially leading to bigger issues down the line. Staying on top of it is an easy way to protect both your family’s health and your HVAC equipment.
Set a Regular Cleaning and Inspection Schedule
To get the most out of your UV light, it’s important to keep it clean and replace it on schedule. Plan on replacing the bulb every 12 to 24 months, but always check the manufacturer’s specific recommendations first. In between replacements, a little cleaning goes a long way. About once every three months, gently wipe the bulb with a soft cloth and a bit of alcohol. This removes any dust or grime that has settled on the surface. A layer of dust can block the UV rays, making the light much less effective at purifying your air. Setting a reminder on your phone or calendar can help you stay on track with this simple but crucial task.
How to Dispose of Old UV Bulbs Safely
When it’s time to throw out your old UV bulb, you can’t just toss it in the regular trash. Most UV-C bulbs contain a small amount of mercury, which is a hazardous material. Because of this, they require special disposal to protect the environment and public health. The best approach is to check your local regulations for handling hazardous waste. Many communities have designated drop-off sites or collection events for items like these. Taking your old bulb to a proper hazardous waste facility ensures it’s managed safely and responsibly. It’s a small extra step that makes a big difference.
Related Articles
- HVAC Tips & Insights Blog - Expert Advice from 5 Star Air
- Duct Replacement Services
- Air Quality Services
- Prepare Your HVAC for Florida Summer
- Schedule HVAC Service - Book Online 24/7
Frequently Asked Questions
Why do I need to replace the UV bulb if it’s still glowing? This is a great question because it’s not very intuitive. While the bulb might still produce a visible purple light, the specific UV-C wavelength that neutralizes germs fades significantly after about a year of continuous use. Think of it like sunscreen losing its effectiveness over time. The light is still there, but it no longer has the power to keep your air clean, which is why an annual replacement is so important for maintaining your air quality.
Is the UV light in my HVAC system safe for my family and pets? Absolutely. When installed correctly, the UV light is completely contained within your indoor air handler. The light only treats the air passing through the system, so you, your family, and your pets are never exposed to the UV rays. The only time for caution is during the replacement process, as you should never look directly at an active bulb.
Will an HVAC UV light get rid of dust and pet dander? Not exactly. A UV light is designed to target and neutralize microscopic, biological contaminants like mold spores, bacteria, and viruses. It doesn't capture larger particles like dust, pollen, or pet dander. For those, your best line of defense is still a high-quality air filter that you change regularly. A UV light and a good filter work together as a team to cover all your air quality bases.
Does the UV light have to run all the time? Won't that raise my energy bill? For the light to be effective, it does need to run continuously. This ensures that it’s always ready to treat the air whenever your HVAC system kicks on. Fortunately, these bulbs are very energy-efficient. They typically use about the same amount of electricity as a small light bulb, so you are unlikely to notice any significant change in your monthly energy costs.
Can I have a UV light installed in my current HVAC system? Yes, in most cases you can. UV light systems are designed to be retrofitted into almost any existing central air conditioning system. It’s a straightforward upgrade that can make a big difference in your home’s air. If you’re interested in adding one, a professional technician can assess your system and recommend the right model for your specific setup.