How to Clean Condenser Coils Without Removing Them
If you’ve noticed your electricity bills creeping up or your home not feeling as cool as it used to, the culprit might be hiding in plain sight. Your outdoor AC unit’s condenser coils are essential for releasing heat, but they get clogged with dirt and debris over time. A dirty coil acts like an insulator, trapping heat and forcing your system into overdrive just to keep up. Before you call for a potentially expensive repair, you should know that a simple cleaning can make a world of difference. We’ll walk you through the safe and effective steps on how to clean condenser coil without removing it, an easy DIY project that can lower your energy costs.
Key Takeaways
- Prioritize Coil Cleaning for Better Performance: Your AC's outdoor coils are designed to release heat, so when they're dirty, your system works overtime. A simple cleaning can improve cooling, increase efficiency, and potentially lower your energy bills, making it a crucial part of home maintenance.
- Use the Right Tools to Prevent Damage: Always work with the power off. Gently clean the delicate fins using a soft brush, a commercial coil cleaner, and a low pressure spray from a garden hose. Never use a pressure washer or harsh household chemicals, which can cause expensive and permanent damage.
- Recognize When to Call a Professional: If a basic cleaning doesn't improve performance, or if you find significant ice, stubborn grime, or bent fins, it's time to call for help. An expert can safely perform a deep clean and diagnose any underlying issues that a simple cleaning won't fix.
What Are AC Condenser Coils?
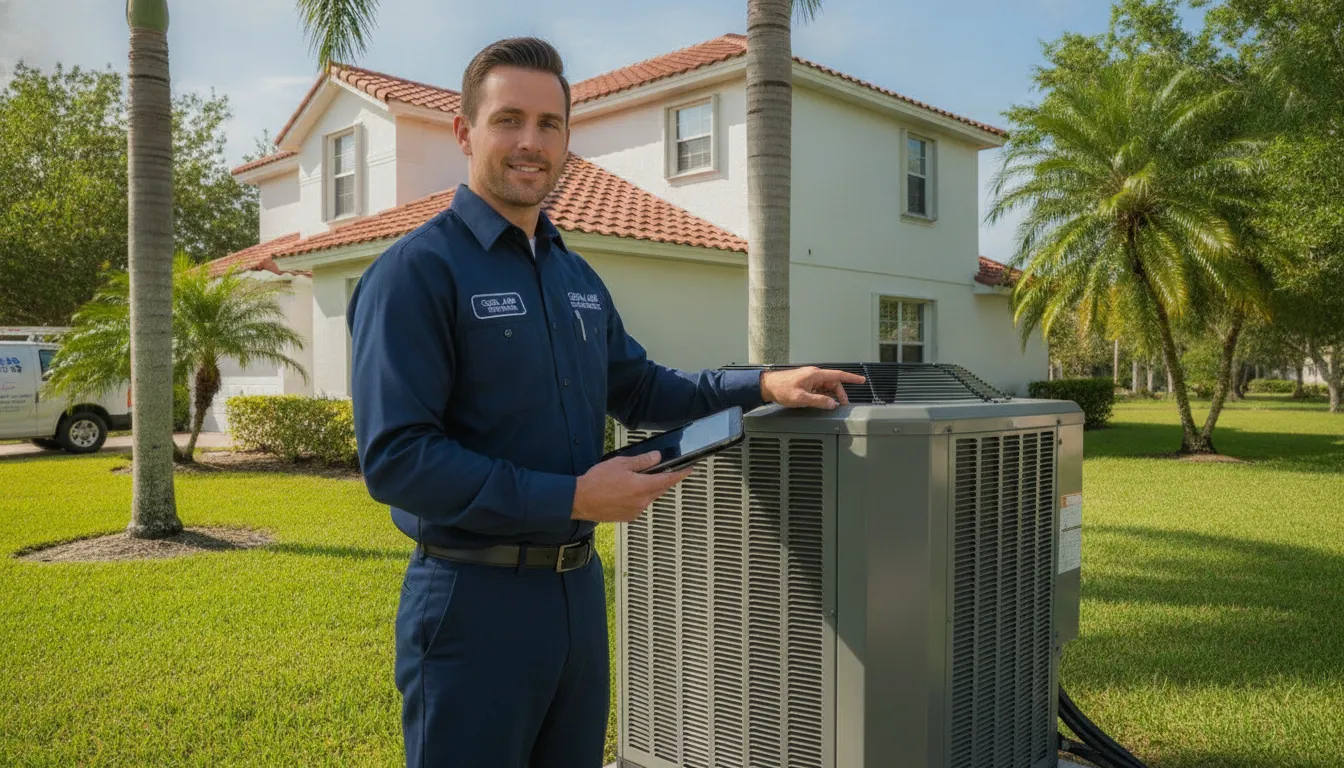
Let's start with the basics. Your air conditioning system has two main parts: an indoor unit and an outdoor unit. The AC condenser coils are a crucial component located inside that outdoor unit. Think of them as your AC's radiator. They are a series of winding tubes, usually made of copper, surrounded by thin metal fins. These fins are designed to maximize the surface area, which is key to making the heat exchange process much more efficient.
Their main job is to release the heat that has been absorbed from inside your home. As the refrigerant circulates, it picks up warmth from your indoor air and carries it to the outdoor unit. The condenser coils are where that heat gets dumped outside, allowing the now-cool refrigerant to cycle back inside and continue the cooling process. Because they live outside, these coils are constantly exposed to the Florida elements: dust, pollen, grass clippings, leaves, and even corrosive salt spray if you live near the coast. This constant exposure means they get dirty, and a dirty coil can't do its job properly. Keeping them clean is a fundamental part of regular air conditioning maintenance and is absolutely essential for your AC to run efficiently, especially during our long, hot summers.
What Do Condenser Coils Do?
So, how exactly do these coils work? It’s a simple but brilliant process of heat transfer. The refrigerant in your AC system acts like a sponge, absorbing heat from the air inside your house. This hot, gaseous refrigerant is then pumped to the outdoor condenser unit. As it flows through the condenser coils, a large fan blows air across them. This airflow pulls the heat away from the coils and the refrigerant inside, releasing it into the outside air.
When the coils are caked in dirt, dust, and grime, they become insulated. This layer of debris acts like a blanket, preventing the coils from releasing heat effectively. Your AC unit has to work much harder and run longer to cool your home, which drives up your energy bills and puts unnecessary strain on the compressor, one of the most expensive parts of your system.
Signs Your Coils Need a Good Cleaning
Your AC unit will usually give you some clear hints when the condenser coils are dirty. If your system isn't cooling your home like it used to, or if it seems to run constantly, dirty coils are a likely culprit. Pay attention to your utility bills, too; a sudden spike in electricity costs often points to an inefficient system working overtime.
Here are a few other telltale signs:
- Visible dirt: A quick visual inspection is often enough. If you see a layer of dirt or grass on the fins, it’s time for a cleaning.
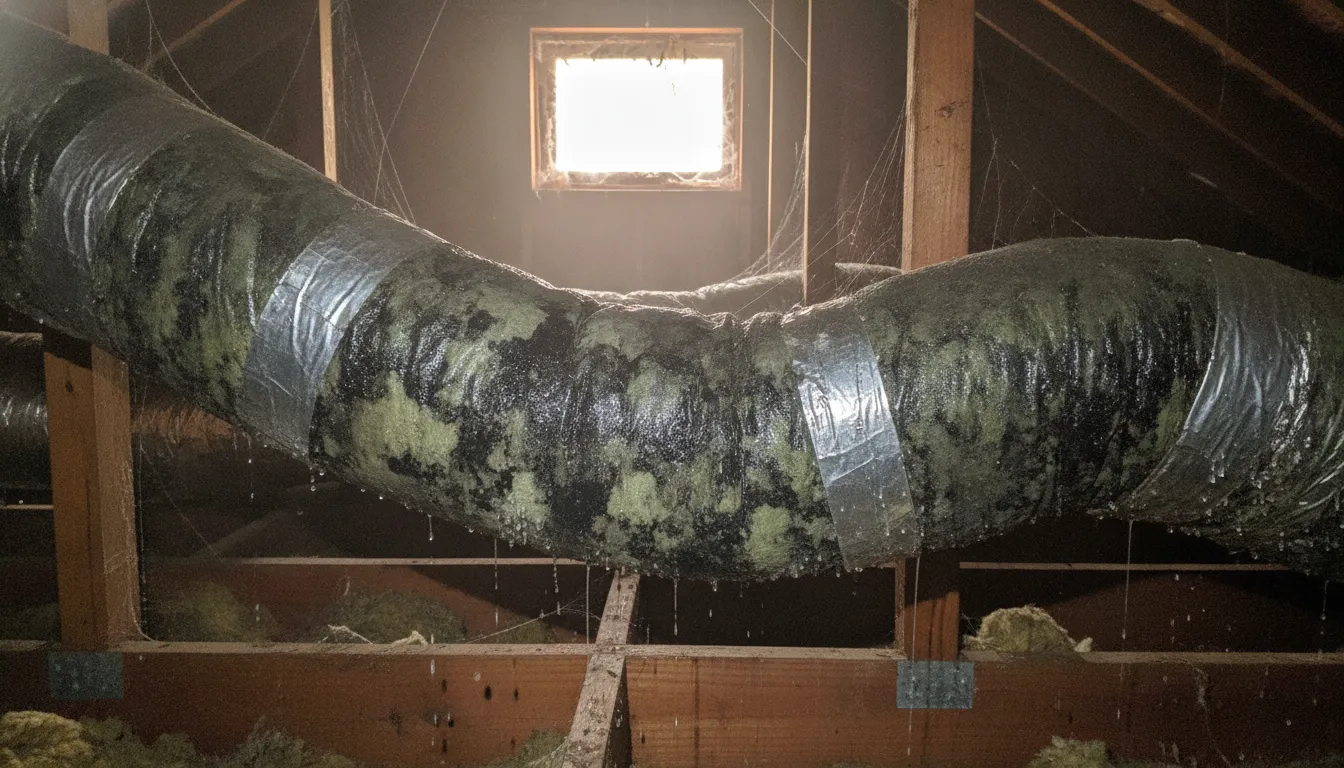
- Ice buildup: Icing on the coils can happen when airflow is restricted, a classic sign of a dirty system.
- Strange smells: Musty odors from your vents can mean dirt and moisture on the coils have created a breeding ground for mold.
If you spot these issues and a cleaning doesn't resolve them, it could signal a more serious problem that needs professional air conditioning repair.
Gather Your Tools and Safety Gear
Before you get started, let's get everything you need in one place. A little prep work goes a long way in making this job feel less like a chore and more like a win for your home. Having the right tools and safety gear on hand ensures the process is smooth, effective, and most importantly, safe. Think of it as your pre-project checklist before you begin.
Your Cleaning Supply Checklist
You probably have a few of these items around your home already. Here’s a quick list of what to grab before you head outside to your AC unit:
- A soft brush: A paintbrush with soft bristles works perfectly. You can also find a special fin comb at most hardware stores.
- A garden hose with a spray nozzle: You’ll want a nozzle that can create a gentle spray, not a high-pressure jet.
- A shop vacuum with a brush attachment: This is for clearing away loose leaves, grass, and dust before you start washing.
- Foaming coil cleaner: Look for a commercial, non-acidic cleaner made specifically for AC coils. A "no-rinse" formula is often the easiest to use.
Essential Safety Precautions
Your safety and your AC unit's health are the top priorities here. Before you touch the unit, run through these crucial safety steps. This isn't the place to cut corners.
- Turn off the power: Go to your home’s breaker box and flip the switch that controls your outdoor AC unit. This is the most important step.
- Protect yourself: Wear gloves to keep the cleaner off your hands and safety goggles to protect your eyes from spray and debris.
- Be gentle: Those metal fins on the coils are delicate and can bend easily. Never use a power washer or a stiff brush, as this can cause damage that requires professional air conditioning repair.
- Clear the area: Make sure kids and pets are safely inside before you start spraying any cleaners.
How to Prep Your AC Unit for Cleaning
Before you grab a hose or a can of coil cleaner, a little prep work is in order. Taking a few minutes to get your unit ready is the most important part of the process. It ensures you can work safely and helps you get the best possible results. These two simple steps will set you up for a successful cleaning and a happier, more efficient AC.
Step 1: Turn Off the Power
Okay, first things first: safety. This is the one step you absolutely cannot skip. Before you do anything else, you need to completely cut the power to your outdoor AC unit. Start by switching your thermostat to the "Off" position. Next, head to your home's breaker box and find the circuit that controls the air conditioner. Flip it to the "Off" position as well. This double-check is crucial because it prevents any risk of electric shock while you work and protects the sensitive electrical components inside. Taking this precaution is the best way to avoid an unexpected and costly air conditioning repair call.
Step 2: Clear Debris From the Area
Your AC unit needs room to breathe, and in Florida, that space can get crowded fast with leaves, grass clippings, and dirt. Before cleaning the coils, take some time to clear the area around the condenser. You’ll want to create at least a two-foot perimeter of clear space. Gently sweep or vacuum away any visible debris stuck to the outside of the unit, paying close attention to the delicate metal fins. It's also a good idea to remove any leaves or junk that has collected inside at the bottom of the unit. This simple cleanup improves airflow immediately and is a key part of any good air conditioning maintenance routine, helping your system run more efficiently.
A Step-by-Step Guide to Cleaning Your Coils
With your AC unit prepped and the area clear, you’re ready for the main event. This part of the process is all about being gentle and thorough. The coil fins are delicate, so working carefully will prevent accidental damage while ensuring your unit gets the deep clean it needs to run efficiently. Follow these steps to get your coils looking and performing their best. If at any point you feel unsure or notice something that doesn’t look right, don’t hesitate to stop and contact us. It’s always better to be safe than to risk a costly repair.
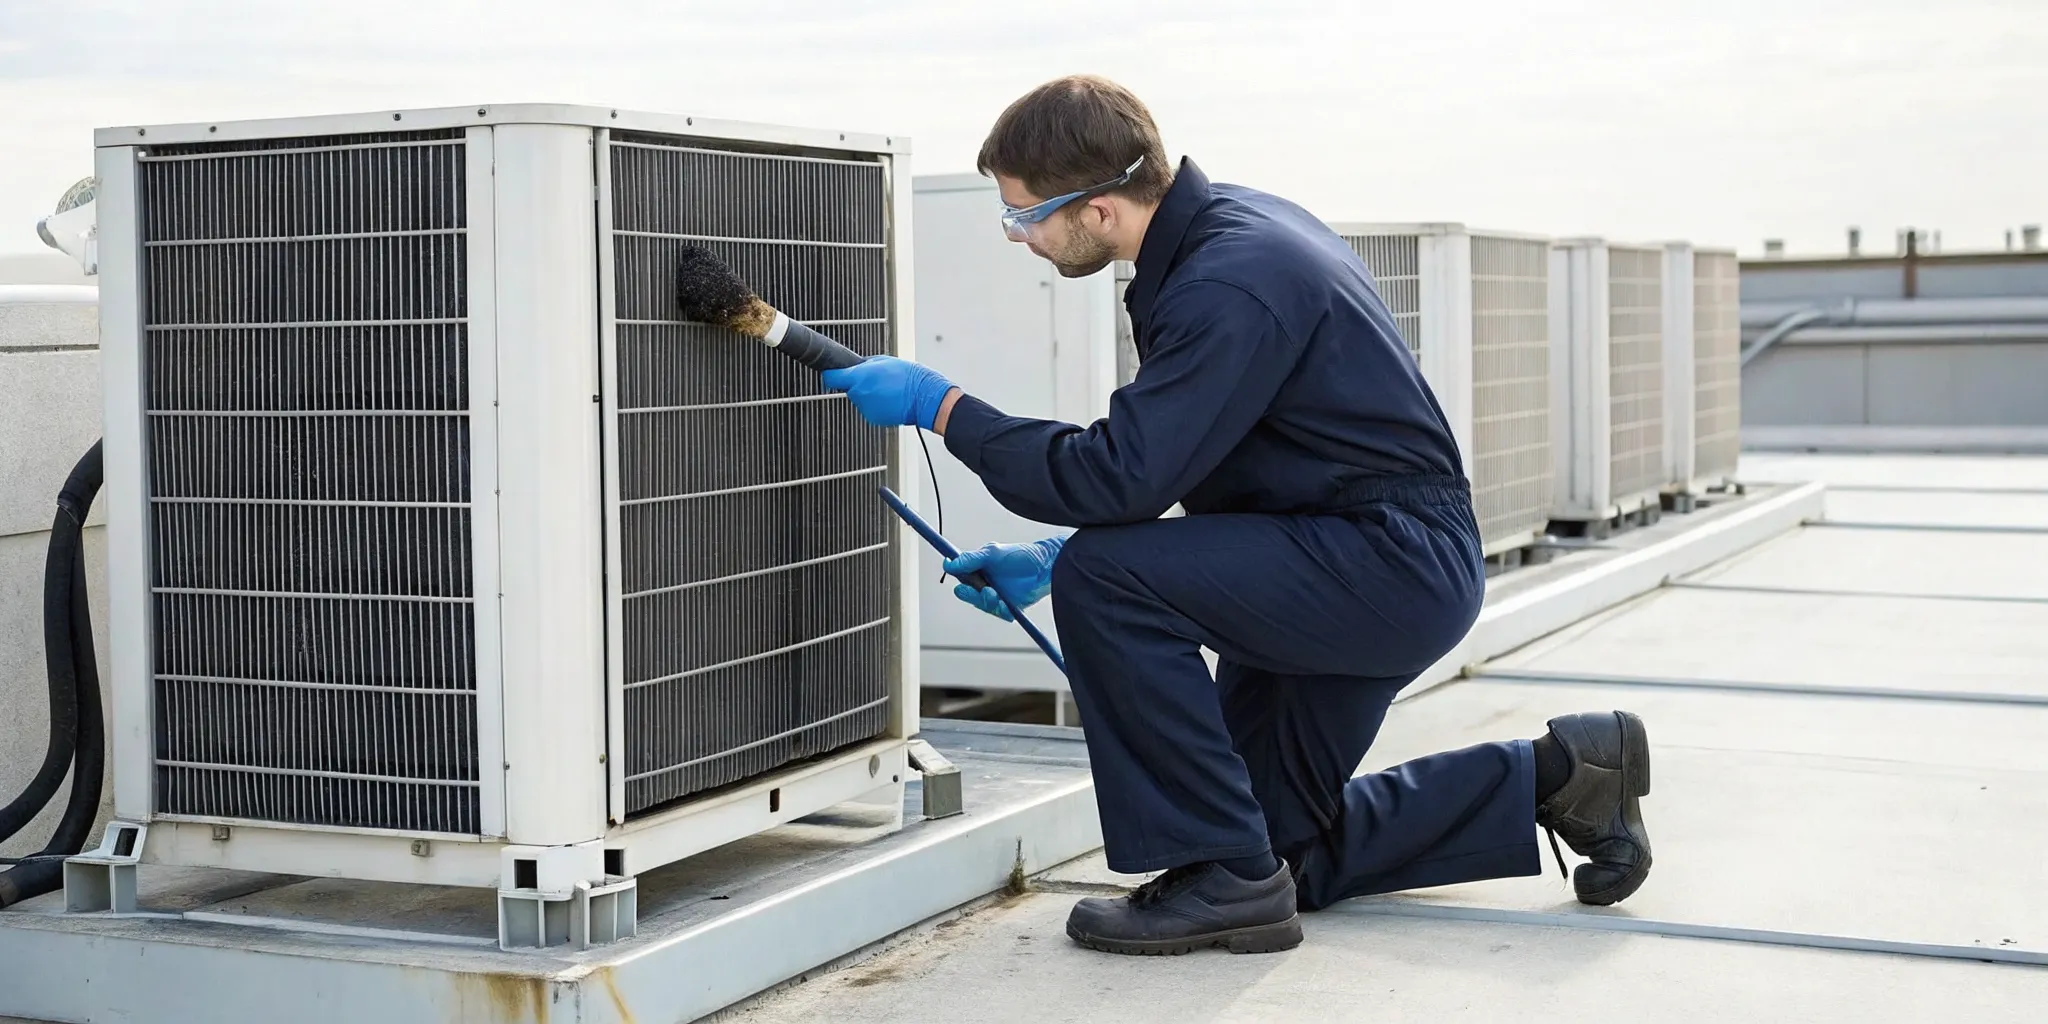
Step 3: Gently Brush Away Surface Dirt
First, let’s get rid of the easy-to-reach debris. Using a soft-bristled brush or a vacuum with a brush attachment, gently sweep away any loose dust, grass clippings, or cobwebs from the outside of the unit. The key is to brush in the same direction as the metal fins, which is typically vertical. Brushing sideways can bend these delicate aluminum fins, which restricts airflow and makes your AC work harder. Think of it like petting a cat; you want to go with the fur, not against it. Take your time and be methodical to clear as much surface dirt as possible before moving on.
Step 4: Apply Your Coil Cleaner
Now it’s time to break down the tougher grime that’s stuck deep within the fins. Grab your commercial foaming coil cleaner and spray it evenly across the coils. Don’t be shy; you want to saturate the area so the foam can expand and penetrate every nook and cranny. This specialized cleaner is designed to cling to the fins and dissolve stubborn buildup without harsh chemicals. Let the product sit and work its magic for about 10 to 15 minutes, or as directed on the can. You’ll see the foam start to trap and lift the dirt away.
Step 5: Rinse the Coils Carefully
Once the cleaner has had enough time to do its job, you’ll need to rinse it all off. Use a garden hose with a standard spray nozzle to gently wash the coils. It’s very important to avoid using a high-pressure washer, as the force can easily bend or flatten the fins, leading to serious performance issues. Start rinsing from the top of the unit and work your way down, allowing the water to carry the foam and loosened grime away. Continue rinsing until the water running off the unit is clear and free of suds.
Step 6: Let It Dry and Inspect Your Work
Patience is key for this final step. Allow the coils to air dry completely before you think about turning the power back on. On a sunny Florida day, this might take an hour or so. Once everything is dry, you can head back to the breaker box and the outdoor disconnect to restore power. Before you switch your AC on, give your work one last inspection. If you notice any significantly bent fins or anything else that seems out of place, it might be a sign of a deeper issue. In that case, scheduling a professional air conditioning repair is your safest bet.
What's the Best Cleaner for Your Coils?
Walking down the cleaning aisle can be overwhelming, and picking the right product for your AC coils is more important than you might think. The cleaner you choose directly impacts both the effectiveness of your cleaning and the long-term health of your air conditioner. Using the wrong substance can cause corrosion and damage that leads to expensive repairs, so it’s crucial to get it right.
While it might be tempting to grab any old household cleaner, your AC unit has delicate parts that require a special touch. Let’s break down what you should use and, just as importantly, what you should absolutely avoid.
Store-Bought vs. DIY Cleaning Solutions
When it comes to cleaning your condenser coils, your best bet is a specialized, store-bought foaming coil cleaner. Look for a product that is specifically made for AC units and is labeled as non-acidic and "no-rinse" or "self-rinsing." These cleaners are formulated to cling to the coils, break down dirt and grime, and then condense away with the unit's own moisture, making your job much easier.
While a simple mix of mild soap and water can work for very light dust, it often isn’t powerful enough to tackle the stubborn buildup we see here in Florida. For a truly effective clean, a dedicated coil cleaner is the way to go. While nothing replaces a professional tune-up from a routine air conditioning maintenance plan, using the right product helps keep your unit running efficiently between service visits.
Cleaners and Chemicals You Should Never Use
This part is critical: never use harsh, acid-based, or abrasive cleaners on your AC coils. Products like bleach, bathroom cleaners, or other strong household chemicals can corrode the delicate aluminum fins and copper tubing. This damage is permanent and can severely reduce your unit's ability to cool your home, leading to higher energy bills and a shorter lifespan for your system.
Always stick to cleaners specifically designed for HVAC coils and never mix different cleaning products together. If you’ve accidentally used the wrong chemical and notice your AC is struggling, it’s best to call for professional air conditioning repair right away to assess the damage before it gets worse. It’s always better to be safe than sorry when it comes to your home’s cooling system.
How Often Should You Clean Your Coils?
Knowing how often to clean your condenser coils can feel like a guessing game, but a few simple guidelines can help you stay on track. For most homes, a thorough cleaning once a year is a great rule of thumb. This annual task helps keep your AC running efficiently, especially before the Florida heat really kicks in.
However, your home isn't like most homes; it's your home. The right cleaning schedule depends entirely on your specific environment and how you use your system. Think of the annual cleaning as a starting point, and adjust from there based on what your AC unit is up against every day.
What Affects Your Cleaning Schedule
Your local environment plays a huge role in how quickly your coils get dirty. If your home is near a dusty road, surrounded by trees that shed a lot of pollen, or filled with furry friends, you’ll likely need to clean your coils more often, maybe two to four times a year. All that dust, dander, and debris gets pulled into your outdoor unit and can clog up the coils fast.
You can also let your AC’s performance be your guide. Have you noticed your energy bills creeping up without a clear reason? Is your home not feeling as cool and comfortable as it used to? These are classic signs that your coils are dirty and struggling to release heat. When this happens, it’s a clear signal that it’s time for a cleaning. If a good cleaning doesn't solve the problem, it might be time for an air conditioning repair.
How to Create a Maintenance Routine
The best way to keep your coils clean is to create a simple maintenance routine. Start by visually inspecting the outdoor unit every month or two. A quick peek can help you spot leaves, grass clippings, or dirt building up before it becomes a major problem. You should also make a habit of regularly changing your indoor air filters. A clogged filter can’t stop dust and particles from reaching your coils, which makes them get dirty faster.
Controlling the humidity inside your home can also help, as excess moisture can make dirt and grime stick to the coils more easily. Above all, the easiest way to ensure your entire system is in great shape is to schedule a professional check-up once a year. An expert can perform a deep cleaning and spot any potential issues, giving you peace of mind. This kind of preventative air conditioning maintenance is the key to a long-lasting and efficient system.
Common DIY Mistakes That Can Damage Your AC
Taking on a DIY project can be really satisfying, but when it comes to your AC unit, a simple mistake can lead to a costly headache. Cleaning your condenser coils seems easy enough, but a few common errors can cause serious damage. Knowing what to avoid is just as important as knowing what to do. If you accidentally make one of these missteps, don't panic. Our team is always here to help with professional air conditioning repair.
Using Too Much Water Pressure
It might seem like a pressure washer is the fastest way to blast away dirt, but it’s one of the worst tools you can use on your AC coils. The thin aluminum fins on the coils are incredibly delicate and bend easily under high pressure. Bent fins block airflow, forcing your system to work much harder to cool your home. This not only reduces efficiency and drives up your energy bills but can also strain the compressor, leading to a potential system failure. Instead, use a regular garden hose with a gentle spray nozzle to thoroughly rinse the coils. Proper cleaning technique is a key part of any good air conditioning maintenance plan.
Applying the Wrong Chemicals
When you see stubborn grime, it’s tempting to reach for a heavy-duty cleaner. However, you should never use strong, acid-based, or abrasive household cleaners on your AC coils. Products not specifically designed for HVAC systems can corrode the metal, leading to refrigerant leaks and expensive damage. Always stick to a commercial coil cleaner that is labeled as safe for your unit. It’s also critical not to mix different cleaning products, as this can create hazardous chemical reactions. Using the wrong substances can not only harm your AC but also impact your home's indoor air quality when the system circulates air.
Scrubbing Fins Too Hard
The golden rule for cleaning AC fins is to be gentle. These thin metal sheets are essential for heat exchange, but they are also extremely fragile. Never use a wire brush, a stiff-bristled broom, or a vacuum cleaner attachment to scrub them. Aggressive scrubbing will bend or flatten the fins, which severely restricts airflow. Think of it like trying to breathe through a pinched straw; your AC unit will struggle to pull in air, reducing its cooling power and efficiency. If you find the fins are already bent, you can try to carefully straighten them with a fin comb, but it’s a delicate process. If the damage is significant, it’s best to call for a professional AC repair service.
How to Know if Your Cleaning Was a Success
You’ve scrubbed, rinsed, and let everything dry. So, how do you know if your hard work actually paid off? A successful coil cleaning isn’t just about looks; it’s about tangible improvements in your AC’s performance and your home’s comfort. Here are the key signs to look for to confirm your DIY project was a success and what to keep an eye on moving forward.
Checking for Improved Performance
The most immediate sign of a successful coil cleaning is simply better cooling. Your home should feel more comfortable, and your AC might reach your set temperature faster. That’s because clean coils allow your system to transfer heat efficiently, so it doesn’t have to work nearly as hard to do its job. This improved efficiency is the main goal of routine air conditioning maintenance.
Keep an eye on your next energy bill. When your AC runs more efficiently, it uses less electricity, which often translates to savings. If your bills were creeping up before the cleaning, you should notice them level out or even decrease. This is a clear financial indicator that your maintenance paid off.
What to Monitor After You're Done
A successful cleaning isn't just about immediate results; it's about lasting performance. In the days and weeks following your cleaning, listen to your unit. It should run smoothly without any new or strange sounds. If you hear rattling or grinding, it could signal a problem that requires professional air conditioning repair.
Also, take a whiff. Any musty smells that were present before should be gone. If you still notice an unpleasant odor, it might be coming from your ductwork, which could point to a deeper issue. Finally, make a habit of checking your air filters monthly. A clean filter is your first line of defense in keeping your newly cleaned coils free of dust and debris.
When Is It Time to Call a Professional?
While cleaning your AC coils is a manageable DIY task, it’s just as important to know when to put down the hose and pick up the phone. Sometimes, a problem looks simple on the surface but is actually a symptom of a deeper issue. Pushing forward with a DIY fix when you’re out of your depth can lead to costly damage to your system, turning a small problem into a major expense.
Recognizing the difference between a routine clean and a job for an expert is key to keeping your AC running smoothly for years. If you encounter stubborn grime, notice signs of damage, or just don’t feel confident tackling the job, it’s always better to be safe than sorry. A professional can not only perform a thorough cleaning but also spot underlying problems you might have missed. Think of it as a check-up for your AC. They have the training to see what an untrained eye can't, ensuring your entire system is in good shape, not just the coils.
Warning Signs That Point to a Bigger Problem
Pay close attention to how your AC unit behaves. If you notice any of these red flags, a simple coil cleaning might not be enough to solve the problem. These signs often indicate that it's time for a professional air conditioning repair.
- Your AC isn’t cooling effectively: If the air coming from your vents feels weak or isn't as cold as it used to be, dirty coils could be just one part of a larger issue.
- Energy bills are creeping up: A sudden, unexplained spike in your electricity costs means your system is working harder than it should, which can strain its components.
- You see significant dirt or ice: A thick layer of grime that doesn’t budge or any ice buildup on the coils points to a more serious problem that needs an expert diagnosis.
- Strange or musty smells: Foul odors can signal mold or mildew growth deep within the system, which requires specialized cleaning and sanitization.
Why Some Jobs Are Best Left to the Experts
There’s a big difference between a light rinse and a deep, restorative clean. If your coils are caked in years of dirt, grass, and other debris, a simple spray won’t cut it. Professionals have access to specialized tools and commercial-grade, non-acidic cleaners that can dissolve stubborn buildup without damaging the delicate aluminum fins.
Furthermore, a truly thorough cleaning often requires partially disassembling the unit to clean the coils from the inside out. This is a delicate process that can easily go wrong if you’re not trained, potentially leading to bent fins or damaged electrical components. Instead of risking it, scheduling regular air conditioning maintenance ensures your coils are cleaned correctly and gives a technician a chance to catch small issues before they become expensive headaches.
Related Articles
- How to Prepare Your HVAC System for a Florida Summer
- 5 Signs Your AC Needs Repair
- The Benefits of Regular HVAC Maintenance
- AC Repair Services
- Comprehensive AC Services
Frequently Asked Questions
Can I just use water and skip the special cleaner? While rinsing with water can remove loose leaves and surface dust, it won't do much for the sticky, baked-on grime that really impacts your AC's performance. Think of it like trying to wash a greasy pan with only water; you need something to break down the gunk. A proper foaming coil cleaner is formulated to dissolve that stubborn buildup, allowing you to rinse it away for a truly effective clean that improves your system's efficiency.
How long should this cleaning process take? You should plan for about an hour from start to finish, especially if it's your first time. This gives you enough time to gather your supplies, safely power down the unit, do a thorough and gentle cleaning, and let the coils air dry completely. Once you've done it a few times, you can likely get the job done in about 30 to 45 minutes. The most important thing is not to rush the process.
What should I do if I accidentally bend the fins? It happens, so don't panic. If you only have a small area of slightly bent fins, you can carefully straighten them with a tool called a fin comb, which you can find at most hardware stores. Be very gentle as you work. However, if a large section of fins is bent or flattened, it's best to stop and call a professional. Damaged fins can seriously restrict airflow, so you want to make sure the repair is done correctly.
Is cleaning the coils myself enough, or do I still need professional maintenance? Cleaning your own coils is a fantastic way to maintain your system's health between service calls. However, it doesn't replace a complete professional tune-up. During a maintenance visit, a technician does much more, including checking refrigerant levels, testing electrical connections, and cleaning internal components you can't access. Consider your DIY cleaning a great habit and the professional service as the annual check-up that ensures the entire system is healthy.
My AC unit is on my roof. Are the cleaning steps the same? While the technical steps for cleaning are the same, a rooftop location adds a major safety risk. You have to think about getting on the roof, carrying your tools up a ladder, and handling a water hose from a height, which can be dangerous. For any unit that isn't on the ground, I strongly recommend leaving the job to a licensed and insured professional. Your safety is the top priority, and it's not worth the risk of a fall.