7-Step Mitsubishi Multi Zone Mini Split Installation Guide
If you’re tired of one room feeling like an icebox while another is stubbornly warm, a Mitsubishi multi-zone mini-split system is the answer. These systems offer incredible, room-by-room temperature control, perfect for Florida homes where the heat can be relentless. But the key to unlocking that personalized comfort and energy efficiency lies in a flawless setup. A proper Mitsubishi multi-zone mini-split installation is more than just hanging units on the wall; it’s a precise process involving careful planning, electrical work, and specialized tools. This guide will walk you through the essential steps so you understand what a professional installation entails and can feel confident in your investment.
Key Takeaways
- Customize Your Home's Climate: A Mitsubishi multi-zone system gives you the power to set unique temperatures for different rooms, which is perfect for saving energy and keeping everyone in the house happy.
- Installation Is a Job for Experts: Setting up a mini-split correctly requires specialized tools and knowledge for critical steps like vacuuming refrigerant lines and making safe, high-voltage electrical connections.
- Protect Your Investment with a Pro: Hiring a licensed technician ensures your system runs efficiently, keeps your manufacturer's warranty valid, and prevents common DIY mistakes that can lead to expensive repairs.
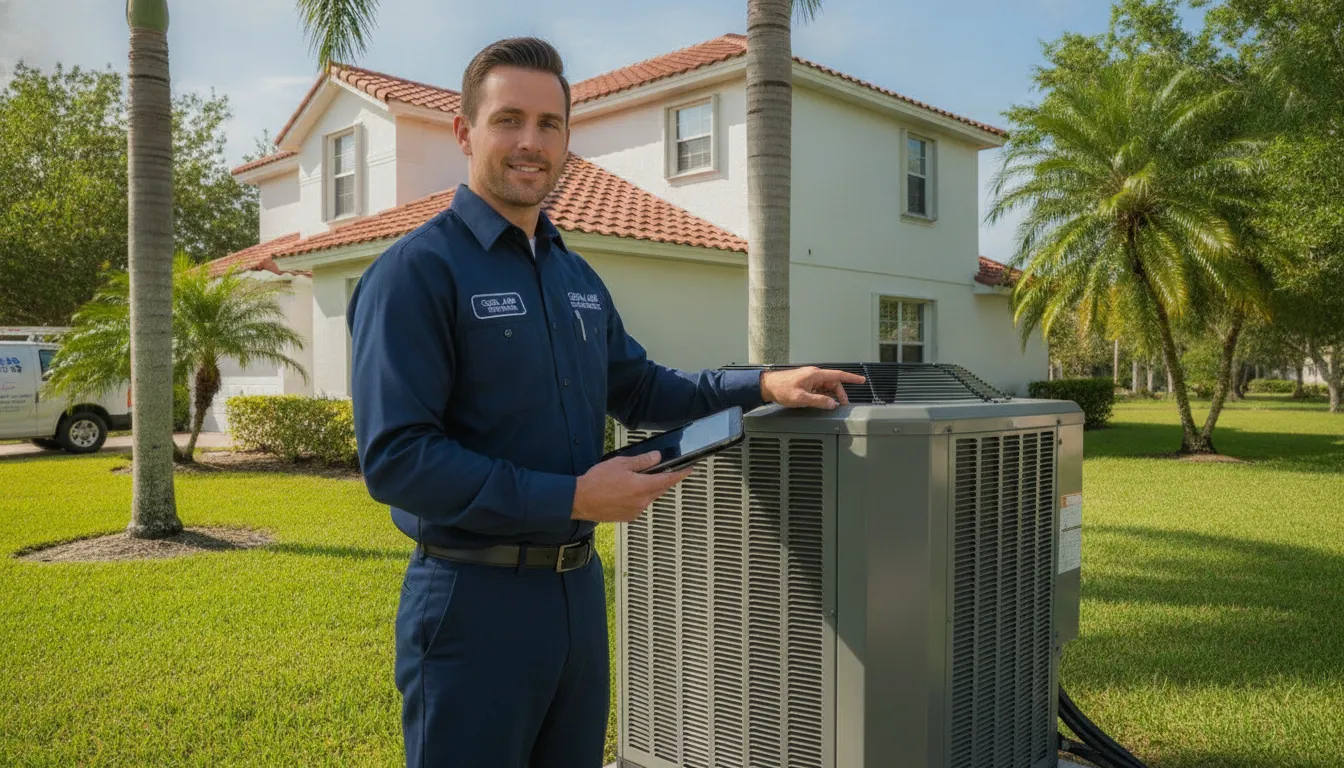
What Is a Mitsubishi Multi-Zone Mini-Split?
If you've ever fought with family members over the thermostat, a Mitsubishi multi-zone mini-split system might be the solution you've been looking for. Unlike traditional central air systems that cool your entire house to one temperature, a multi-zone system lets you create different temperature "zones" throughout your home. This means you can keep the living room comfortable for everyone while making your bedroom an arctic escape, all without needing a complex network of ducts.
These systems are a fantastic, flexible option for Florida homes, whether you're cooling a new addition, a garage workshop, or just want more control over your home's climate. They are known for their quiet operation and efficiency, giving you personalized comfort where you need it most. A professional air conditioning installation ensures each component is placed perfectly for optimal performance and aesthetics.
How the System Works
The magic of a multi-zone mini-split lies in its simple design. The system has two main parts: an outdoor compressor unit and multiple indoor air-handling units. A single outdoor unit can connect to as many as nine indoor units, each with its own thermostat. This allows every room or "zone" to be controlled independently.
The indoor units are typically mounted high on a wall and are connected to the outdoor unit through a small conduit containing the refrigerant lines and electrical wiring. While having one outdoor unit is convenient, it's also why proper sizing and installation are so critical. An incorrectly sized system can struggle to cool your home effectively. That's why working with experienced technicians who understand our local climate is key to getting it right.
The Benefits of Going Multi-Zone
The most obvious benefit is personalized comfort. You can finally stop the thermostat wars and let everyone choose their ideal temperature. This zone-by-zone control also leads to significant energy savings because you're not wasting money cooling empty rooms. If you spend most of your day in a home office, you can cool that space without running the AC in the rest of the house.
Installation is also much less disruptive than traditional HVAC systems. Since there's no ductwork to install, the process is faster and cleaner. This makes mini-splits a perfect fit for any home, from historic properties to modern builds. Better yet, each indoor unit has its own filter, which can help improve your home's indoor air quality by capturing dust, pollen, and other allergens in each specific zone.
A Look at Energy Efficiency
Mitsubishi mini-splits are incredibly energy efficient, which is great news for your wallet, especially during our long Florida summers. A system with an 18 SEER (Seasonal Energy Efficiency Ratio) rating can reduce your cooling costs by about 50% compared to older, less efficient units. A higher-end model with a 22+ SEER rating can cut those costs by up to 65%.
On top of the monthly savings, you might also be eligible for financial incentives. Many high-efficiency models, including qualifying Mitsubishi units, may qualify for a federal tax credit of around 30% (up to $2,000). Local utility companies often offer rebates as well. These savings can make the initial investment much more manageable, and we can help you explore financing options to find a plan that fits your budget.
What You'll Need for Installation
Before you even think about installation, it’s important to gather all the necessary tools, parts, and safety equipment. A successful mini-split installation depends on having the right gear on hand from the start. This isn't a typical weekend DIY project; it requires specialized tools and a solid understanding of how HVAC systems work. Getting everything organized first will make the process smoother and safer, whether you're tackling it yourself or just want to understand what your professional installer is doing.
Your Essential Toolkit
Installing a mini-split system requires more than just a standard toolbox. You'll need several specialized items to handle refrigerant lines and electrical wiring correctly. Here’s a rundown of the tools you’ll need to get the job done right:
- A vacuum pump to remove moisture from the refrigerant lines
- A drill with a 3-inch hole saw for running lines through the wall
- A stud finder to locate secure mounting points
- A flaring tool and pipe bender for the copper piping
- A multimeter to safely check all electrical connections
- Wire strippers, cutters, and fish tape for wiring
- A level, measuring tape, and basic hand tools like wrenches and screwdrivers
Required Parts and Materials
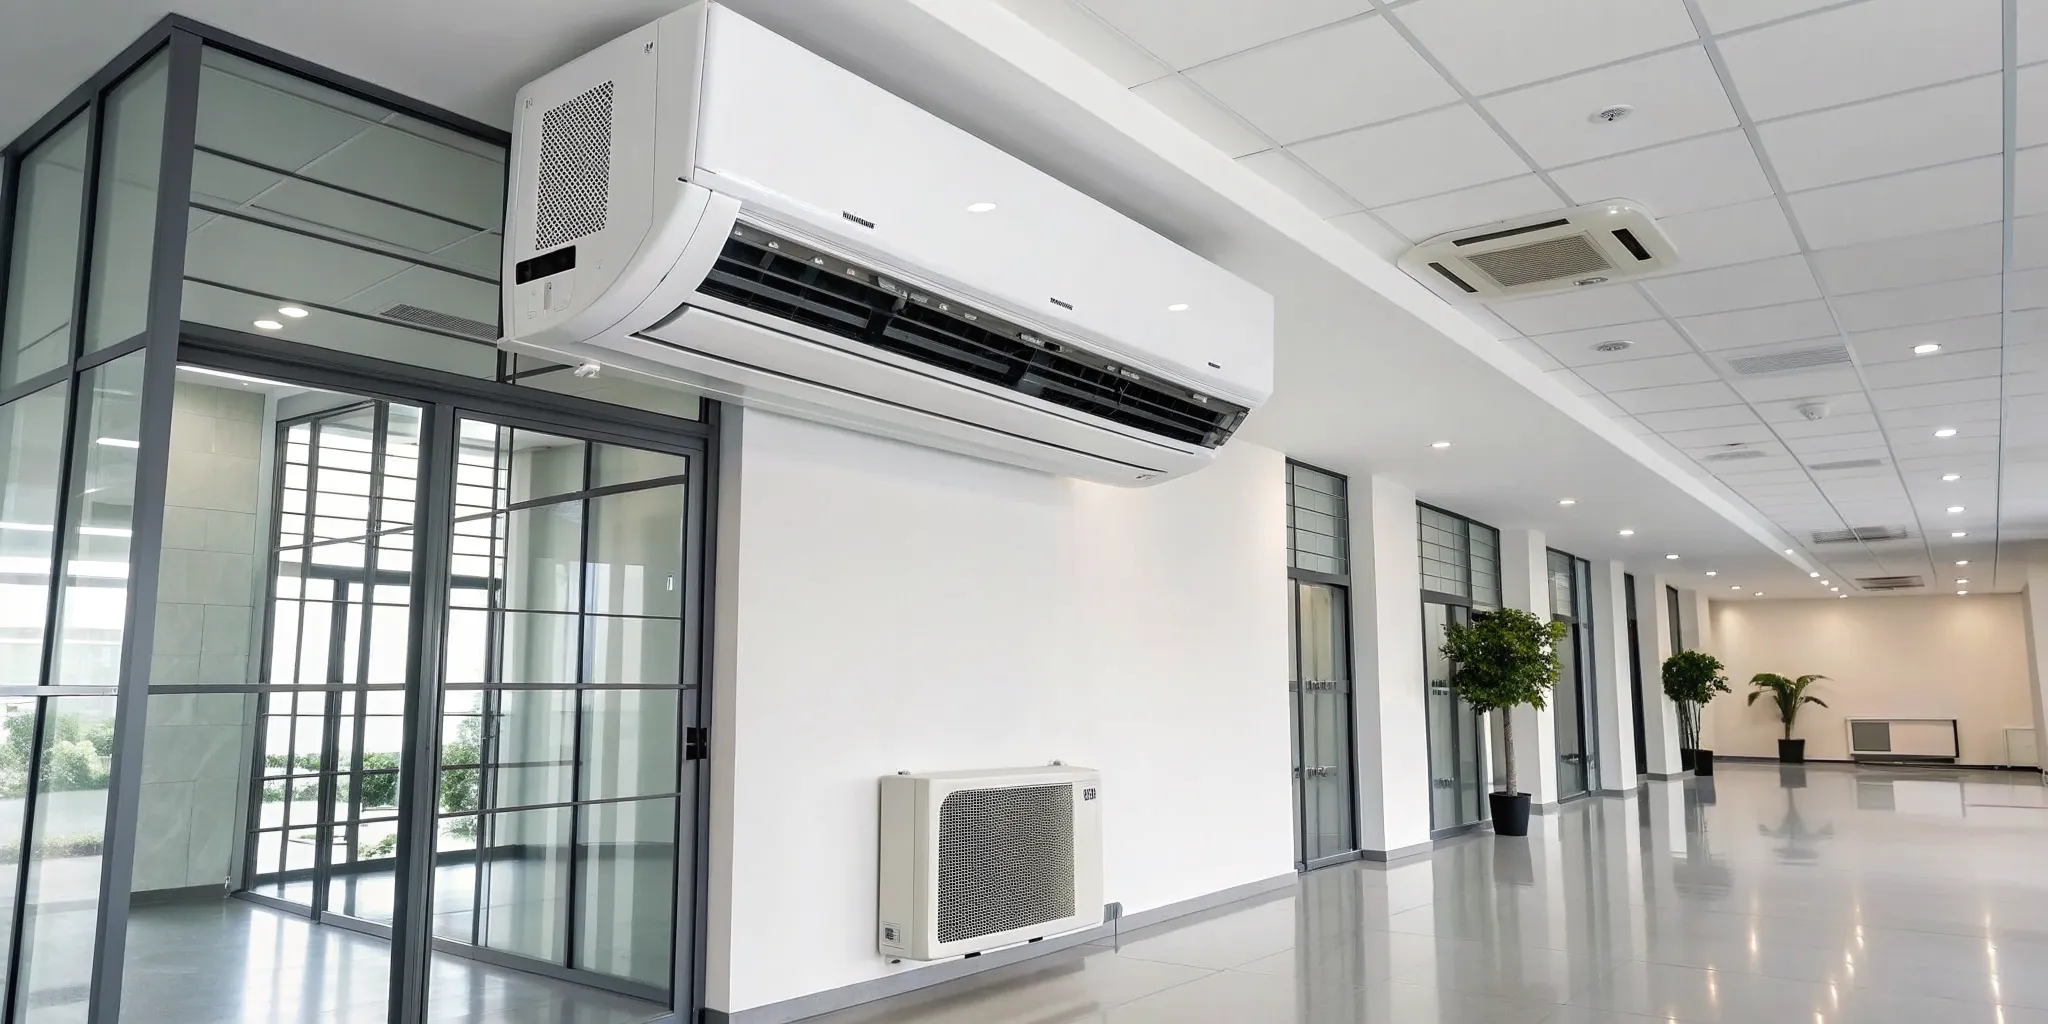
A Mitsubishi multi-zone mini-split system has two main types of components. You’ll have an outdoor compressor or condenser unit, which is the heart of the system. Connected to that, you’ll have the indoor air-handlers, which are the sleek, wall-mounted units that deliver cool air to each room or "zone." Depending on your home’s layout, you can connect multiple indoor units to a single outdoor unit. This setup is what allows for efficient, zoned cooling and heating throughout your home, giving you customized comfort where you need it most.
Safety Gear and Electrical Prep
Safety should always be your top priority, especially when dealing with electricity. Before you touch a single wire, you must turn off the power at the circuit breaker. This is a non-negotiable step that protects you from serious injury and prevents damage to your new equipment. It’s also a good idea to have safety gloves on hand to protect yourself when handling tools and system components. Taking these simple precautions is essential for a safe and successful installation process.
How to Size Your System Correctly
Choosing the right size for your mini-split system is critical for its performance and efficiency. A system that’s too small will struggle to cool your space, while one that’s too large will cycle on and off too frequently, wasting energy. Proper sizing ensures each zone gets the right amount of cooling without overworking the single outdoor unit. An expert can perform a detailed calculation to match the system to your home's specific needs, ensuring you get the comfort and energy savings you expect from a professional air conditioning installation.
A Step-by-Step Guide to Mini-Split Installation
Installing a Mitsubishi multi-zone mini-split is a significant project, but breaking it down into manageable steps can make the process clearer. This guide walks you through the key phases, from planning the layout to powering on your new system. While this is a popular project for skilled DIYers, it involves electrical work and handling refrigerant, which often require professional expertise. Remember that a proper air conditioning installation is the foundation for years of reliable comfort. If you ever feel unsure, it’s always best to call in a licensed technician. Safety and system longevity are paramount.
This process requires careful attention to detail at every stage. From ensuring the indoor units are perfectly level to correctly vacuuming the refrigerant lines, each step builds on the last. A single mistake, like an improperly sealed line, can lead to inefficient cooling and costly future repairs. Before you begin, read through all the steps to get a complete picture of the project. This will help you decide if it’s a job you’re comfortable tackling or if you’d rather leave it to the pros.
Step 1: Plan Your System Layout
First things first, you need a solid plan. A ductless mini-split system has two main parts: the indoor air-handling units and the outdoor condenser. Decide on the best location for each component. Indoor units should be mounted high on an exterior wall, away from direct sunlight and heat sources. The outdoor unit needs to be on a solid, level surface, like a concrete pad, and positioned close enough to the indoor units to keep the refrigerant lines from being excessively long. Think about drainage for the indoor units and ensure the outdoor unit has plenty of clearance for proper airflow. A well-thought-out layout is the key to an efficient system.
Step 2: Mount the Indoor Units
Once you’ve picked your spots, it’s time to mount the indoor units. Inside the box for each unit, you’ll find a metal mounting plate. This is your starting point. Use a stud finder to locate the vertical studs in your wall; you absolutely want to secure the plate to these for a sturdy installation. A level is your best friend here, as an unlevel unit can cause drainage problems down the road. Once the plate is securely screwed into the studs, you’ll drill a hole through the wall (usually about three inches in diameter) for the refrigerant lines, drain hose, and electrical wiring to pass through to the outside.
Step 3: Install and Secure the Outdoor Unit
Now, let's move outside. The outdoor condenser unit is heavy and contains the system's most important components, so it needs a stable, level base. A pre-cast concrete pad is a great option. Place the unit on the pad, ensuring it’s perfectly level and has adequate space around it for air circulation and future maintenance. It’s also a good idea to secure the unit to the pad using bolts to prevent it from shifting during heavy storms, which we all know is a reality here in Florida. Proper placement is critical for performance and can prevent common issues that lead to needing AC repair.
Step 4: Run and Insulate the Refrigerant Lines
This step connects your indoor and outdoor units. You’ll carefully route the refrigerant lines, drain hose, and electrical wires from each indoor unit through the hole you drilled to the outdoor condenser. It’s important to avoid sharp bends or kinks in the copper refrigerant lines, as this can restrict flow and damage the system. Once the lines are connected, each one needs to be wrapped with insulation to prevent energy loss and condensation. This is a meticulous process, but properly insulated lines are vital for the system to cool your home efficiently.
Step 5: Make the Electrical Connections
Connecting the electrical wiring is one of the most critical and dangerous steps. This is where we strongly recommend hiring a professional. The system requires a dedicated circuit from your home’s main electrical panel. You’ll need to run the correct gauge wire from the panel to a disconnect box near the outdoor unit, and then from the disconnect box to the condenser itself. Inside the unit, you’ll connect the wires to the labeled terminals according to the manufacturer’s diagram. Incorrect wiring is a serious fire hazard and can instantly destroy your new system, so it’s not the place to take chances.
Step 6: Vacuum the System and Test for Leaks
Before charging the system with refrigerant, you must remove all air and moisture from the lines. This is done using a vacuum pump and a manifold gauge set. This step, often called "pulling a vacuum," is essential for the air conditioner to work correctly and prevents long-term damage to the compressor. Once the vacuum is pulled, you’ll perform a leak test to ensure all your connections are tight. Skipping this step is a common DIY mistake that can lead to poor performance and a system that fails prematurely.
Step 7: Start Up and Commission the System
You’re at the finish line! With the lines vacuumed and checked for leaks, you can now release the refrigerant into the system. Once that’s done, it’s time to power everything on. Head inside and use the test switch on one of the indoor units to run it in cooling mode. Check each indoor unit to make sure it’s blowing cold air and that the outdoor condenser is running smoothly. Go through all the modes and functions with the remote control to confirm everything is working as it should. This final check ensures your installation was a success and your home is ready to be cooled.
DIY vs. Professional Installation: Making the Right Call
The appeal of a DIY project is strong. It can be satisfying to tackle a home improvement task yourself, and saving money is always a plus. When it comes to installing a Mitsubishi multi-zone mini-split, however, this is one job where calling in a professional is the smartest move. These systems are sophisticated pieces of equipment, and a flawless installation is the key to years of efficient, reliable cooling. While it might seem simpler than installing a traditional central air system, a mini-split installation involves handling refrigerant, making precise electrical connections, and understanding local building codes. Attempting this without the right training and tools often leads to poor performance, costly damage, or a system that doesn't work at all. A professional air conditioning installation ensures your investment is protected from day one.
Why Hiring a Pro Protects Your Investment
Your new mini-split system is a significant investment in your home’s comfort. Professional installation is the best way to make sure you get the most out of it. A certified technician ensures every component is connected correctly, preventing refrigerant leaks and mechanical strain that can shorten the unit's lifespan. More importantly, many manufacturers, including Mitsubishi, may not honor the warranty if the system isn't installed by a licensed professional. An expert handles the entire process with precision, from mounting the units securely to calibrating the system for optimal performance. This attention to detail guarantees your system runs efficiently, saving you money on energy bills and protecting you from the cost of future repairs caused by an improper setup.
Common DIY Mistakes That Cause System Failure
Even with a detailed guide, it’s easy to make a critical mistake during a DIY mini-split installation. Some of the most common errors include incorrect unit placement, which can hinder airflow and efficiency, and improper electrical connections, which pose a serious fire hazard. Mishandling refrigerant is another major risk; it requires specialized equipment and knowledge to charge the system correctly. Perhaps the biggest mistake is choosing the wrong size system for your space, leading to inefficient cooling and higher energy costs. These seemingly small errors can cause major system failures down the road, turning a money-saving project into an expensive headache. A professional avoids these pitfalls, ensuring your system is set up for success.
Understanding Safety Risks and Building Codes
Installing a mini-split system involves more than just mounting units and connecting lines. It requires working with high-voltage electricity and chemical refrigerants, both of which can be dangerous without proper training and safety gear. Our fully licensed and insured technicians have the expertise to handle these elements safely. Furthermore, any HVAC installation must comply with local building and fire safety codes. A professional ensures your system is installed correctly and meets all legal requirements, giving you peace of mind. This not only keeps your family safe but also prevents issues with home inspections or insurance claims in the future. It’s a complex job that is best left to those with the right experience.
Comparing Costs and Long-Term Performance
While the upfront cost of a DIY installation seems lower, it often leads to higher expenses over time. An improperly installed unit will not run at peak efficiency, resulting in higher monthly energy bills. You also run the risk of voiding the manufacturer's warranty, leaving you to pay out-of-pocket for any future repairs. If something goes wrong during the installation, you could even damage the unit permanently, forcing you to buy a new one. Professional installation might have a higher initial price, but it guarantees the job is done right. This means lower energy consumption, a valid warranty, and reliable performance for years to come. We even offer financing options to help make the investment manageable.
Related Articles
- Prepare Your HVAC for a Florida Summer
- HVAC Tips & Insights Blog - Expert Advice from 5 Star Air
- AC Repair Services
- Duct Replacement Services
- Installation Services
Frequently Asked Questions
How many rooms can a single Mitsubishi multi-zone system cool? A single outdoor unit can power up to nine indoor units, so you can create distinct temperature zones in multiple rooms. The exact number depends on the size of your home and the specific cooling needs of each space. A professional assessment is the best way to determine the right configuration to ensure every room stays comfortable without overworking the system.
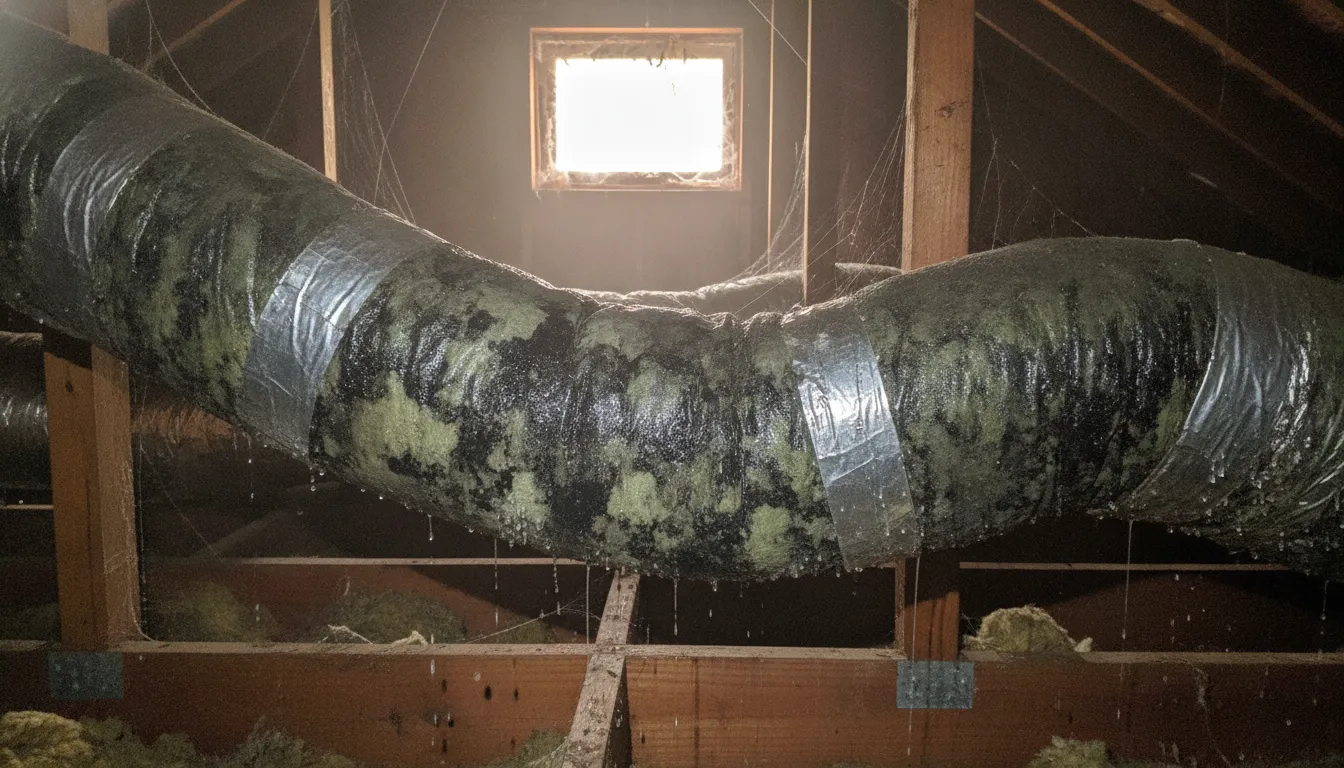
Are mini-splits effective against Florida's high humidity? Yes, they are fantastic for our humid climate. Mini-split systems are very effective at removing moisture from the air as they cool. This not only makes your home feel more comfortable at a given temperature but also helps improve your overall indoor air quality by reducing the conditions that allow mold and mildew to grow.
What kind of maintenance does a mini-split system require? Maintenance is quite straightforward. As a homeowner, your main job is to clean the reusable filters on the indoor units every month or so, which is a simple process. Beyond that, we recommend having a professional service the system annually. A technician will clean the coils, check refrigerant levels, and ensure all electrical components are in good shape, which keeps the system running efficiently for years.
Will I actually save money on my electric bill with a mini-split? You certainly can. The savings come from two key areas. First, Mitsubishi systems are incredibly energy efficient, so they use less electricity to cool your home compared to older, traditional units. Second, the zone control allows you to cool only the rooms you are using, so you aren't wasting money and energy cooling empty spaces.
How long does a professional installation usually take? For a typical multi-zone system, a professional installation can often be completed in one to two days. The exact timeline depends on the number of indoor units being installed and the complexity of your home's layout. Our technicians work efficiently to get your new system running with minimal disruption to your daily life.